
Hey everyone, more and more people are making short videos now. Who hasn't had the thought of "wanting to film but too lazy to film"! Brand films, talking-head videos, short drama samples—if you could do it all end-to-end in one place and then post it online, you'd definitely avoid a lot of detours.
In the past, making a video meant jumping back and forth between image generation software, video models, voiceover tools, and CapCut. Importing and exporting assets wore out your inspiration before you knew it. Now AI stitches the entire pipeline into one canvas, so ordinary people can take an idea from end to end and make it real.
Today's tutorial: teaching you how to use MetaDig to turn a single idea into a publishable short video. From image generation and video generation to outputting the final cut directly at the bottom of the canvas, it lets you install one less piece of software and import assets one less time.
MetaDig is a one-stop professional AI video creation platform. Users can complete text-to-video, image-to-video, digital humans, AI voiceover and music, and editing and compositing on an infinite canvas, with node connections serving as references. The platform integrates Wan 3.0、Seedance 2.5, GPT Image 2, and other models, and also comes with a 3D director's console and dual-track timeline. Public templates support one-click cloning, and teams can collaborate in real time on the same canvas.
Official website entry:https://waytometa.cn/
Let's take a look at how to operate it~
01. Single-shot character short video
Visit the MetaDig official website:https://waytometa.cn/
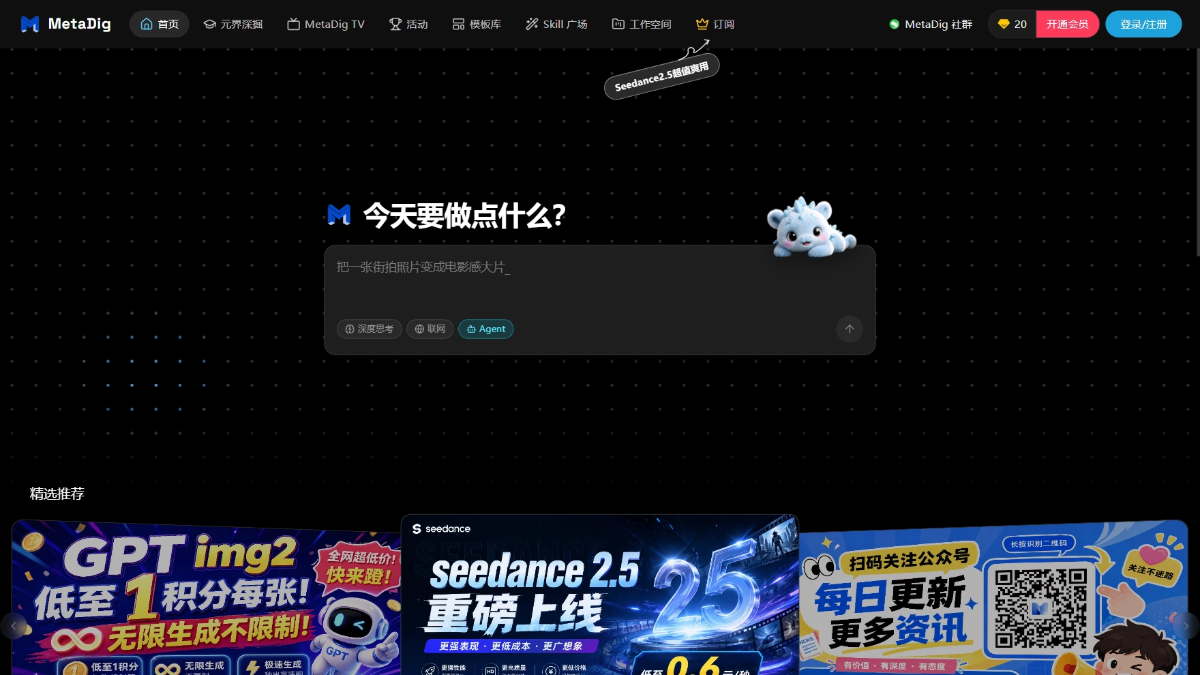
Register and log in, create a new project, and open the canvas.
Create a new image node, select GPT Image 2, and generate an image that includes facial features and clothing:
Image prompt:
Realistic, evening alley entrance, warm yellow streetlights, reflective puddles. A woman in her twenties, short black hair, dark windbreaker, crossbody bag, half-body side profile looking at her phone. Camera slightly low, shoe tops visible. No subtitles, no poster feel.
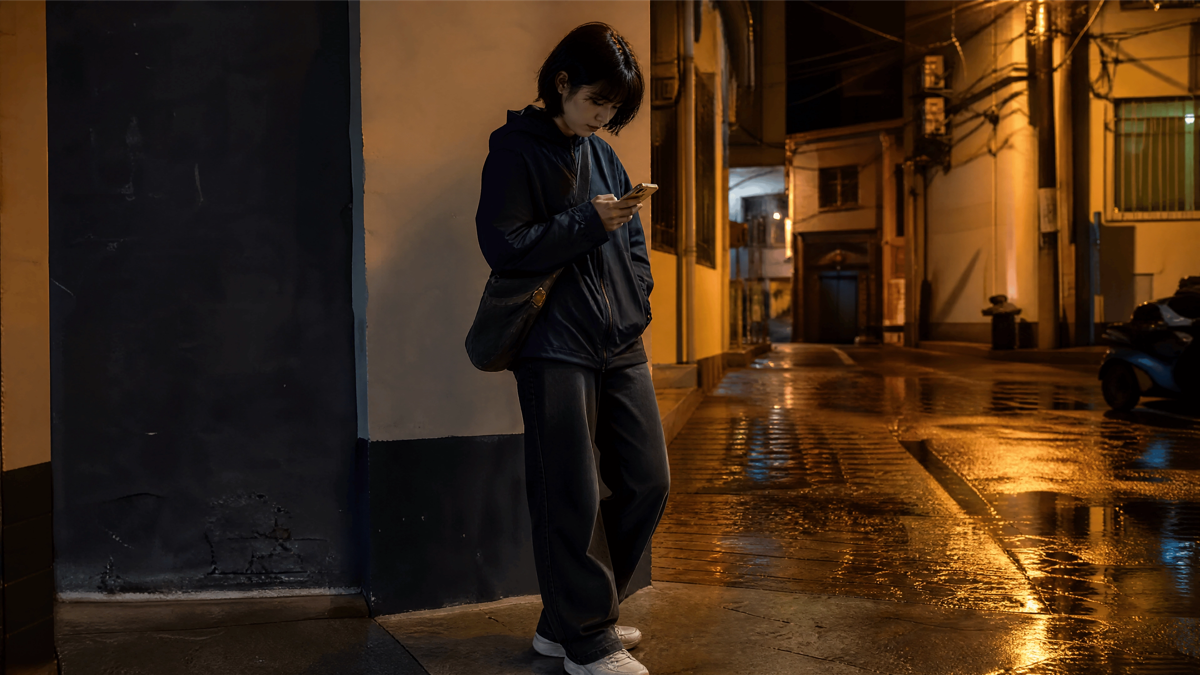
"Image 1"
Once the image is fine, create a new video node, select Wan 3.0, drop this image into the reference slot, and reference "Image 1" in the prompt. Note: this image is only responsible for locking the character's face and clothes; do not let the model regenerate the face.
Video prompt:
"Image 1" is the character's front face and clothing; do not change the facial features, do not change the clothes. Evening street alley, "Image 1" enters the frame from the right, walks toward the warm light, and lowers her head to glance at her phone. The camera follows to a half-body shot, and the last two seconds stop on the reflection on her shoes. Only the ambient sound of the alley entrance, no voiceover, no subtitles, no facial distortion. Duration 5 seconds.
Click generate. If you find that the face is distorted or the clothes have been changed, just describe the problem in natural language directly in the prompt and make local adjustments; there is no need to reroll the entire clip.
Take a look at the result: the character is locked in by the image. This 5-second video can be used as a cover and also as the opening of the next segment.
02. Video + BGM, direct final cut from the canvas
For the second clip, only change the camera angle and action, and select Wan 3.0 or Seedance 2.5 for the model:
Second video prompt:
Image 1 is the character's front face and clothing; Video 1 only provides the walking rhythm, and Audio 1 provides the ambient sound of the alley entrance. Do not change the facial features, do not change the clothes.
Evening street alley, Image 1 enters the frame from the right side of the picture and walks toward the warm light at the alley entrance at the step frequency of Video 1. The camera follows to a half-body shot, and the last two seconds stop on the reflection on her shoes. No voiceover, no large subtitles, no facial distortion.
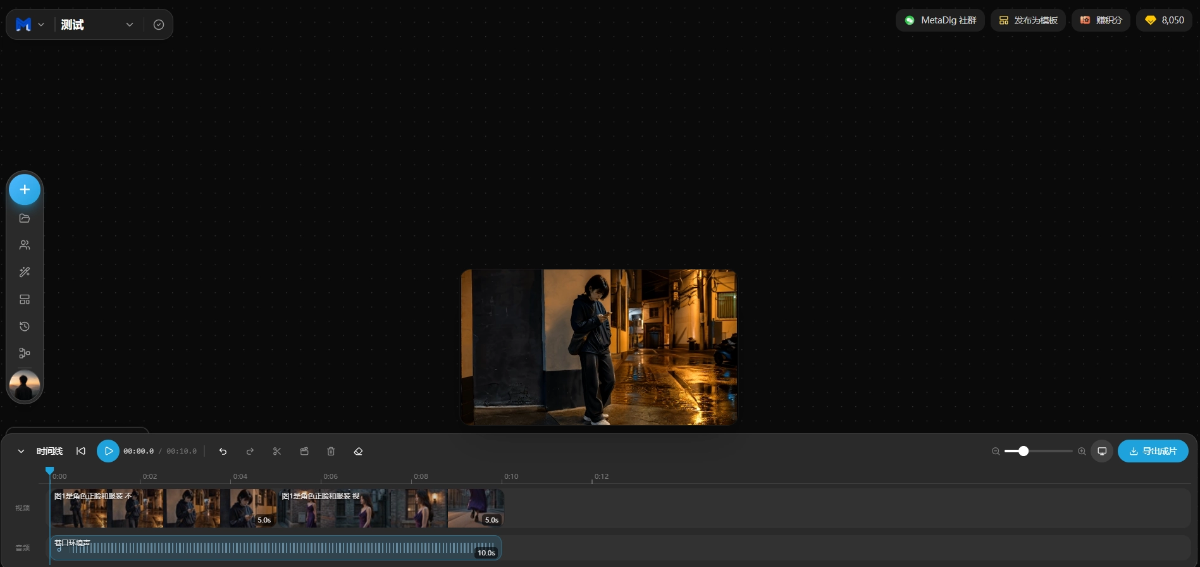
After both segments are out, drop them into the timeline at the bottom of the canvas:
Select the first segment and click "Add to Timeline"; click once more for the second segment
Press space to preview; if there is blank space at the beginning or end, trim it inward; if the cut jumps, add a 0.5-second black screen at the junction
Drag the playhead to the beginning and add the BGM to the audio track below.
Click "Export Final Cut," 1080P, and choose Auto or 9:16 for the aspect ratio.
Compositing doesn't consume credits, and the final cut automatically returns to the canvas. It supports up to 40 clips with a total length of 5 minutes, which is more than enough for short videos.
Let's see the result: the same person walking from the alley entrance to the convenience store, with BGM playing throughout underneath. No more manual alignment in CapCut.
03. Some Sharing
After trying MetaDig for short videos, it really opened my eyes, and I gained so much!
In the past, making AI videos was like gacha: the prompts were long and tedious, and after generating a 5-second video, if you weren't satisfied, you could only re-roll the whole thing, and afterward you still had to import it into CapCut for alignment. As a beginner, I could burn through a lot of credits in one night, and the video was still a mess. After integrating the process into the canvas, that idea completely changed.
Take image generation for example. Previously, a single reference image had to handle the face, the action, and the filter all at once, so the model could only average them out.
Now the slots are separated: Image 1 handles appearance, the Director's Console handles positioning, and the video node handles what is happening in that segment. With the same credits, the success rate is noticeably higher. It's not that the model suddenly got smarter—it's that you make it guess less.