Linghui AIBased on mainstreamAI Comic Dramacreation process optimization,with novels/scripts as input, one-stop realization of the full process of "script breakdown → asset extraction → storyboard generation". The system automatically extracts the character, scene, and prop asset library from the script; automatically performs director-level storyboarding and provides multiple model generation options, making it easy to produce high-quality video content.
I. Overall Recommended Process
Recommended creation process for first-time use:
Create project → Upload/generate script → Check script segmentation → Improve core character assets → Generate storyboard images → Check storyboard images → Generate video → Composite and export.
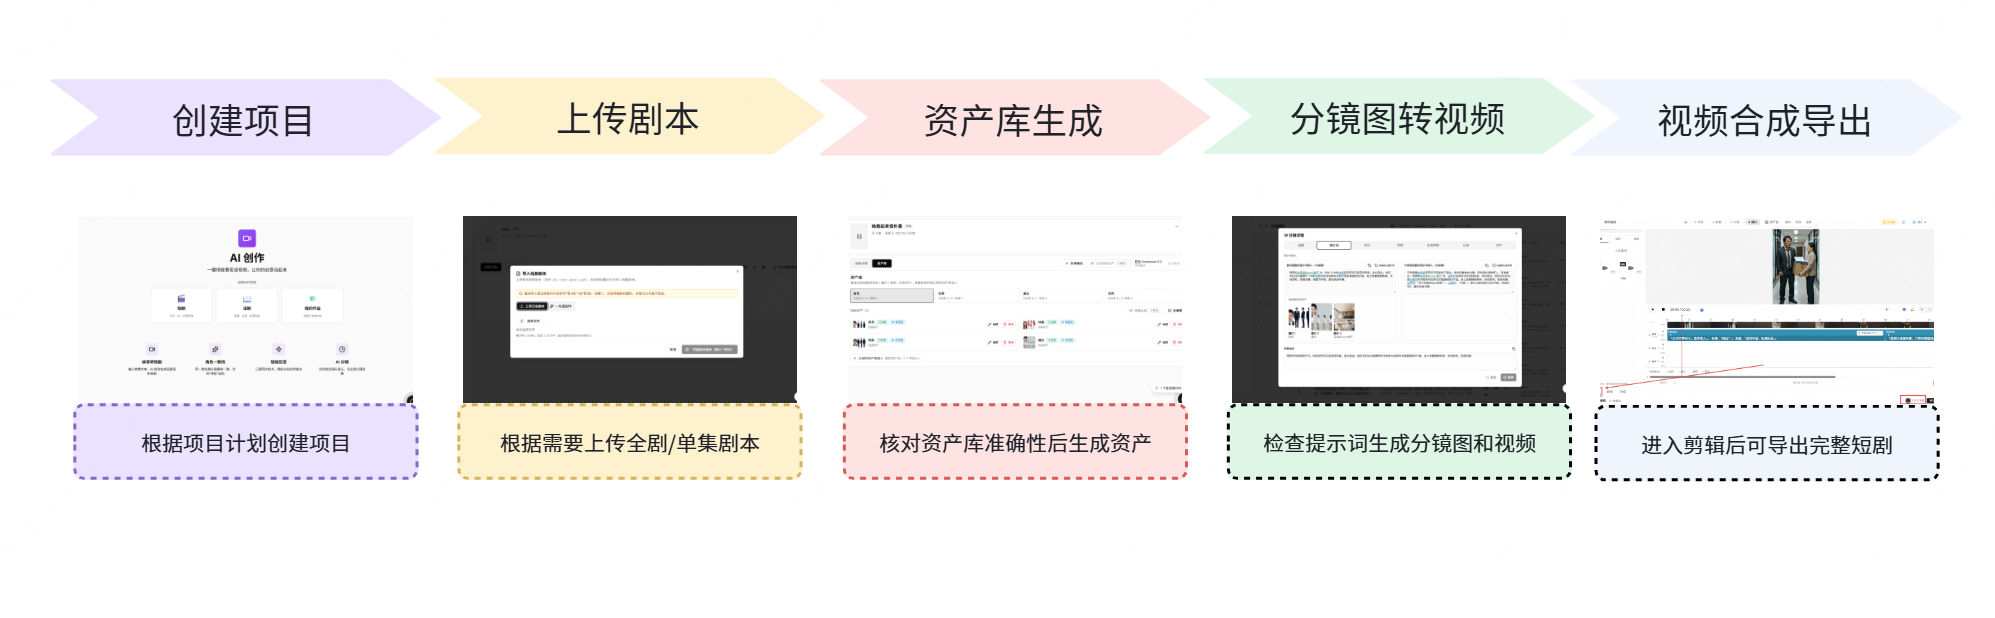
The detailed steps are introduced below:
II. Project Creation
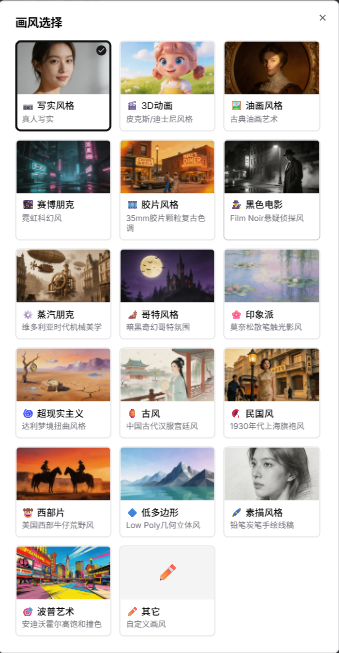
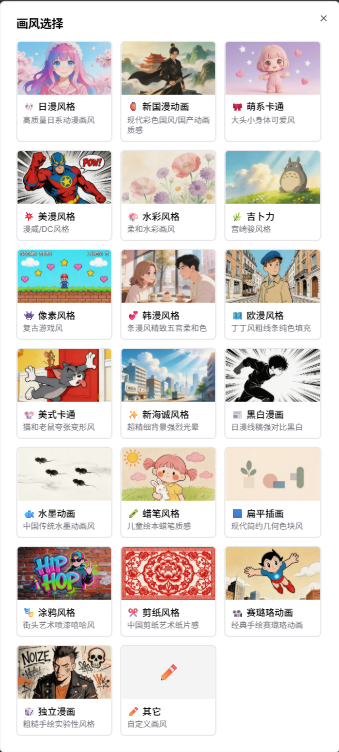
You can enter from multiple entrances, AI short drama/comic drama creation. The core difference between the two entrances is the art style.
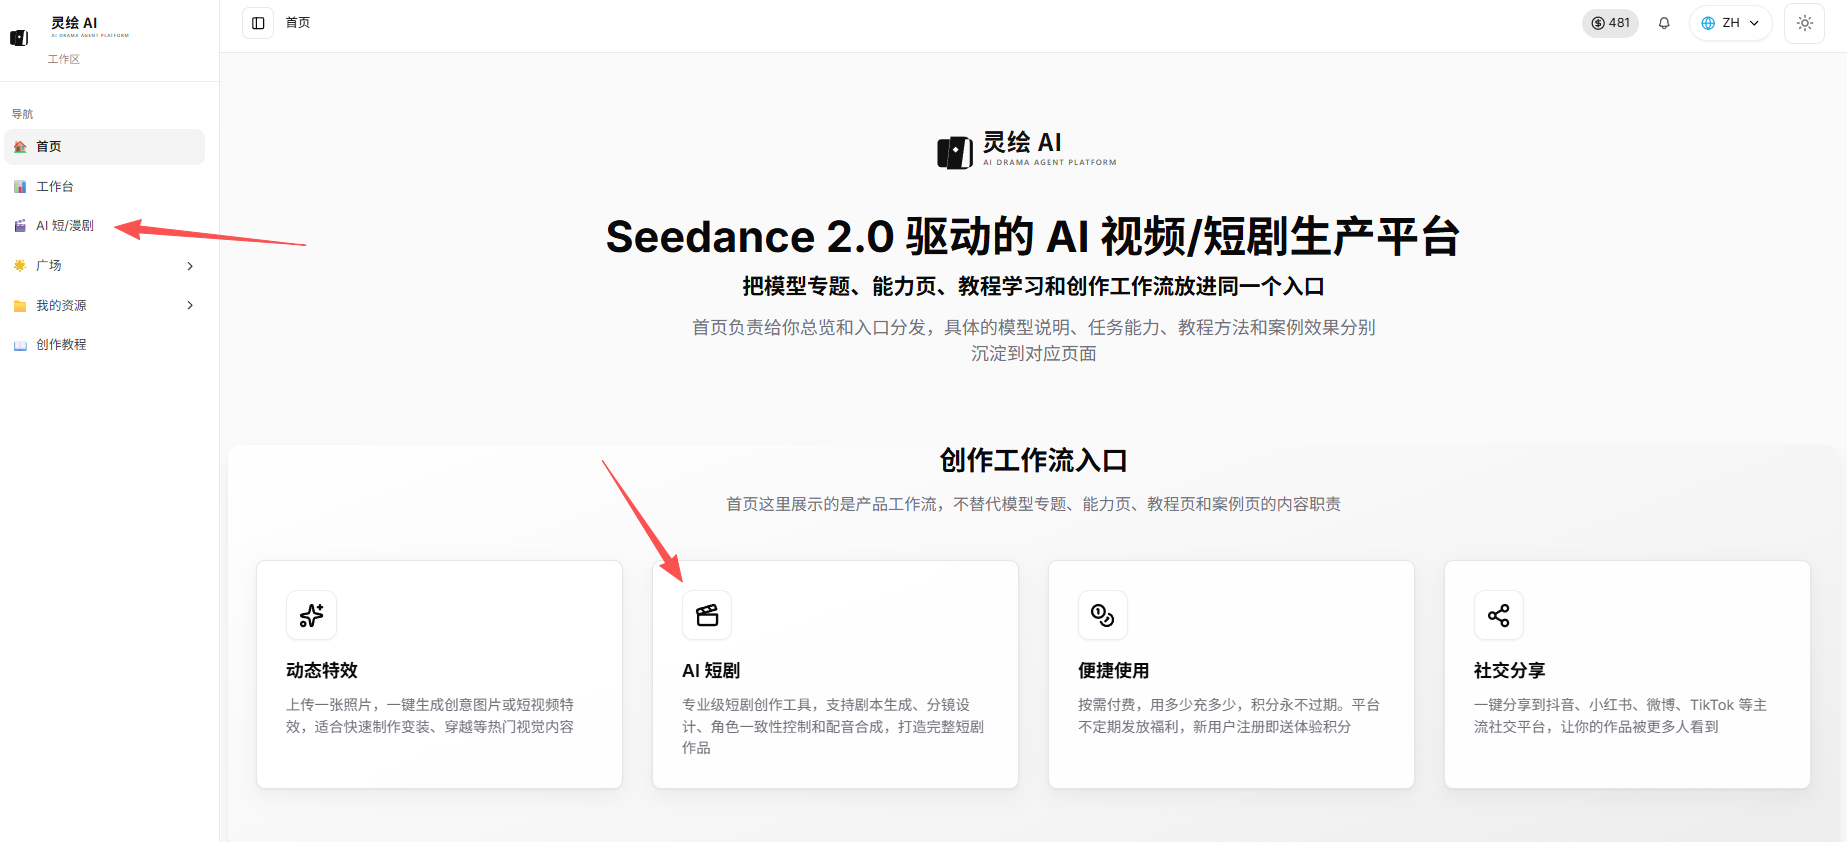
The art style of short dramas is: live-action realistic, 3D animation, oil painting style, cyberpunk, film style, black-and-white film, steampunk, gothic style, impressionism, surrealism, ancient style, Republic of China style, western, low-poly, sketch style, pop style, custom style
The art style of comic dramas is: Japanese anime style, new Chinese comic style, cute cartoon, American comic style, watercolor style, Ghibli, pixel style, Korean comic style, European comic style, American cartoon, Makoto Shinkai style, black-and-white comic, ink-wash animation, crayon style, flat illustration, graffiti style, paper-cut style, cel animation, independent comic, custom style
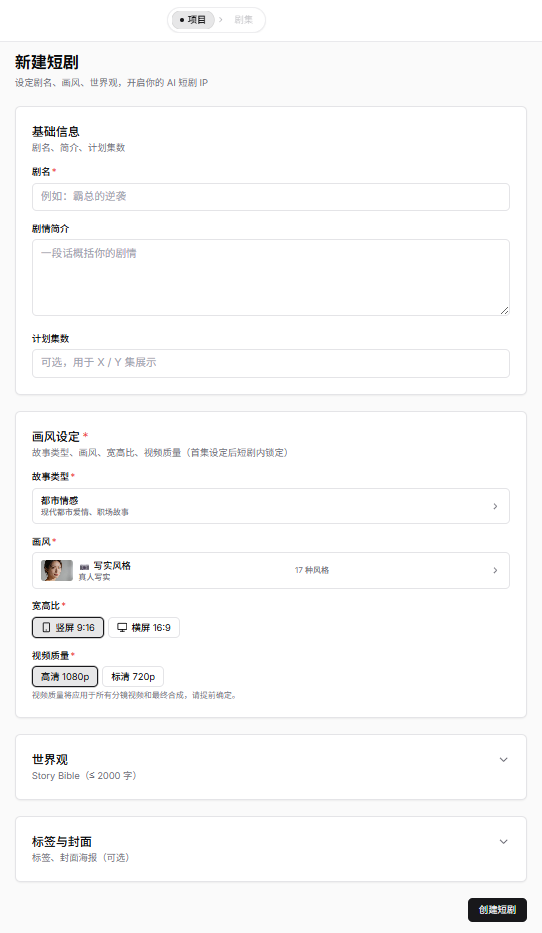
Series Introduction (taking short drama as an example)
Items marked with * are required/required selections and can be filled in according to plan; other content can be skipped or supplemented later. After completion, click: Create, then enter the series.
Import Short Drama Script
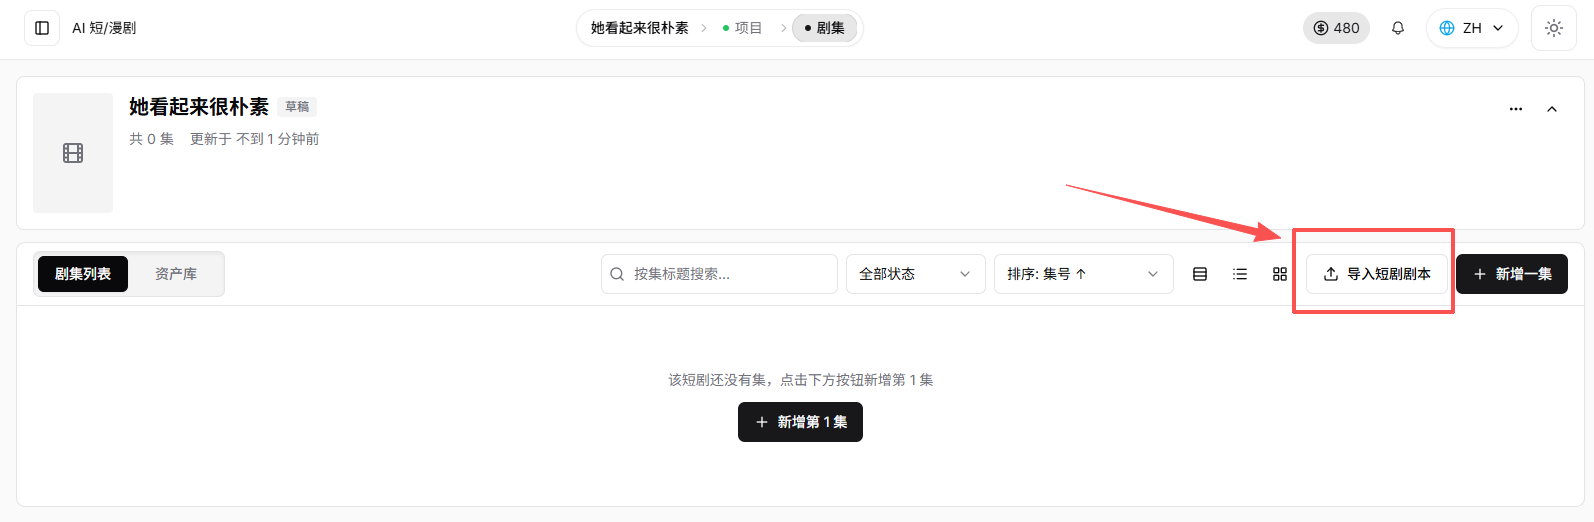
Directly click to upload an existing script, upload a file, or choose to generate a script from one sentence.
- Choose [Select File]. The script format needs to meet the basic script structure so that subsequent splitting into episodes and storyboards can be more accurate.
- Choose [One-Sentence Creation]. You can use a simple sentence or upload a story to automatically generate a script through the large model.
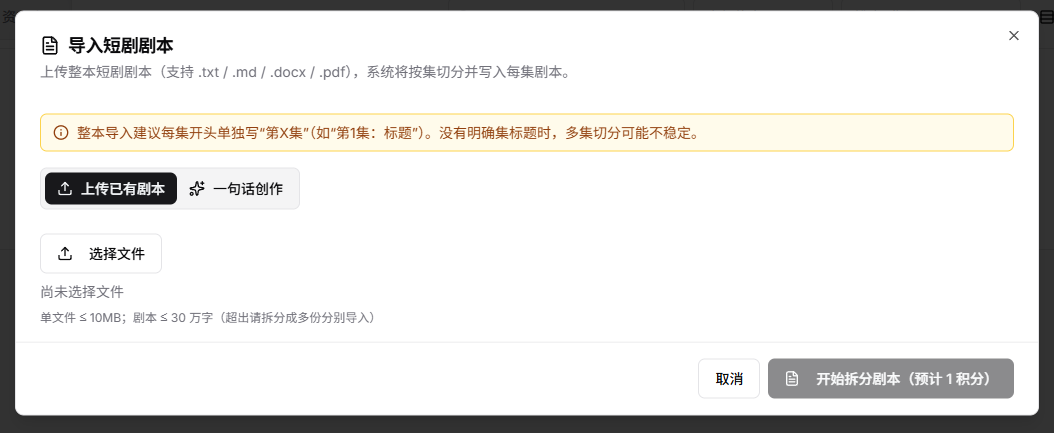
Example of generating a script from one sentence:
A girl abandoned by her family is humiliated and called off at her engagement banquet by her fiancé, but is recognized on the spot as the biological daughter of the richest man, leaving everyone shocked and regretful.
Suggested format for uploading a story:
Character:
Background:
Conflict:
Twist:
Style:
Duration:
After completing the script settings, wait for the system to segment the script; usually about 1 minute. If it takes too long, please contact customer service at any time.
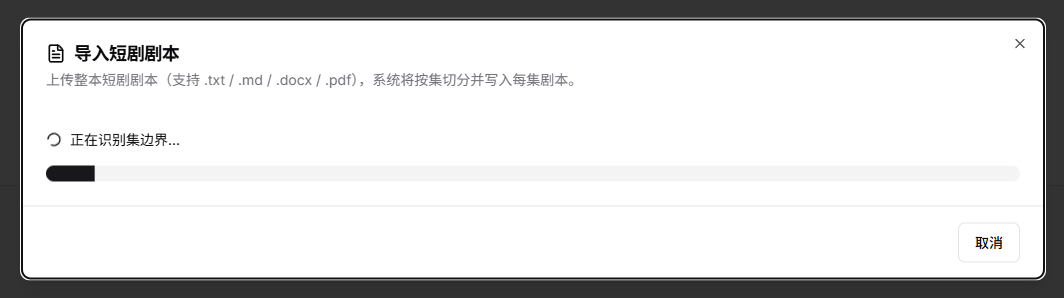
After the script is segmented, you can click expand to check whether the scene recognition is accurate.
Once confirmed correct, click [Import] in the lower right corner. After importing, you can review the script scenes.
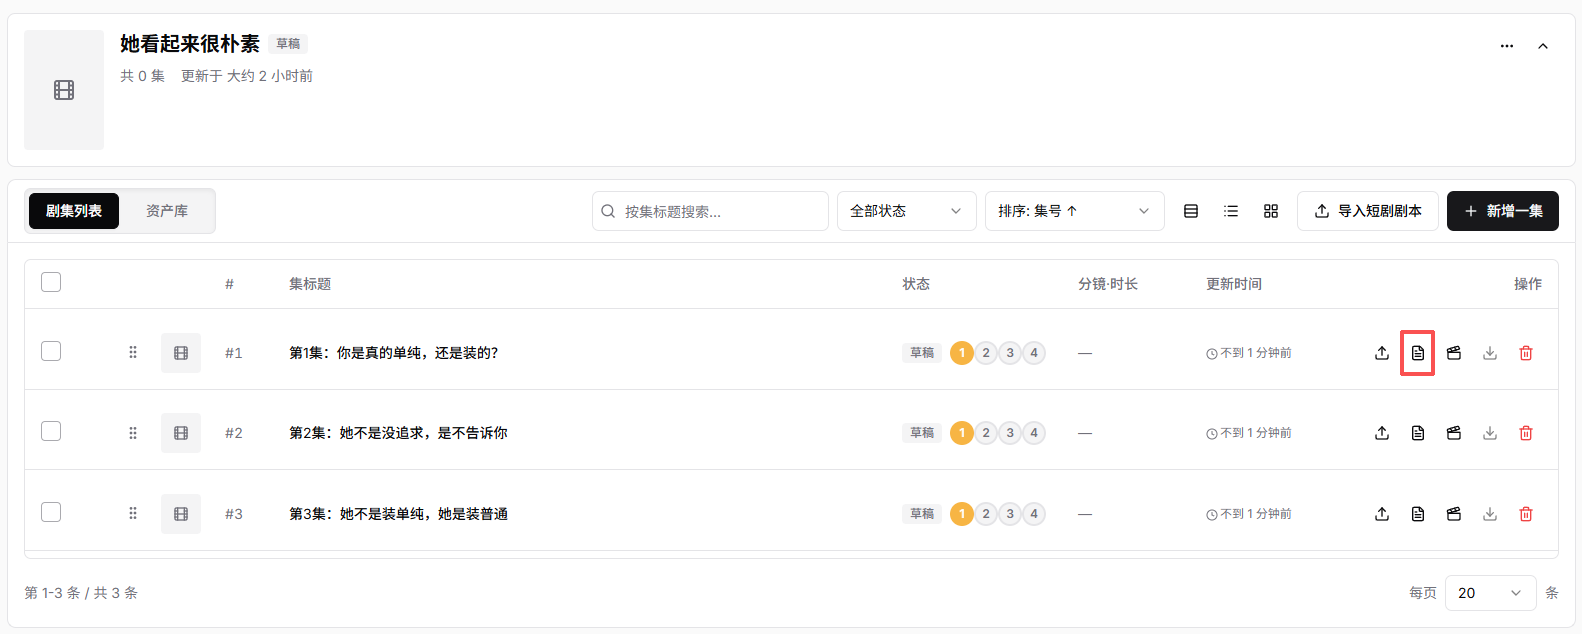
III. Asset Library
You can directly click the storyboard button, and an asset library prompt pop-up will appear.
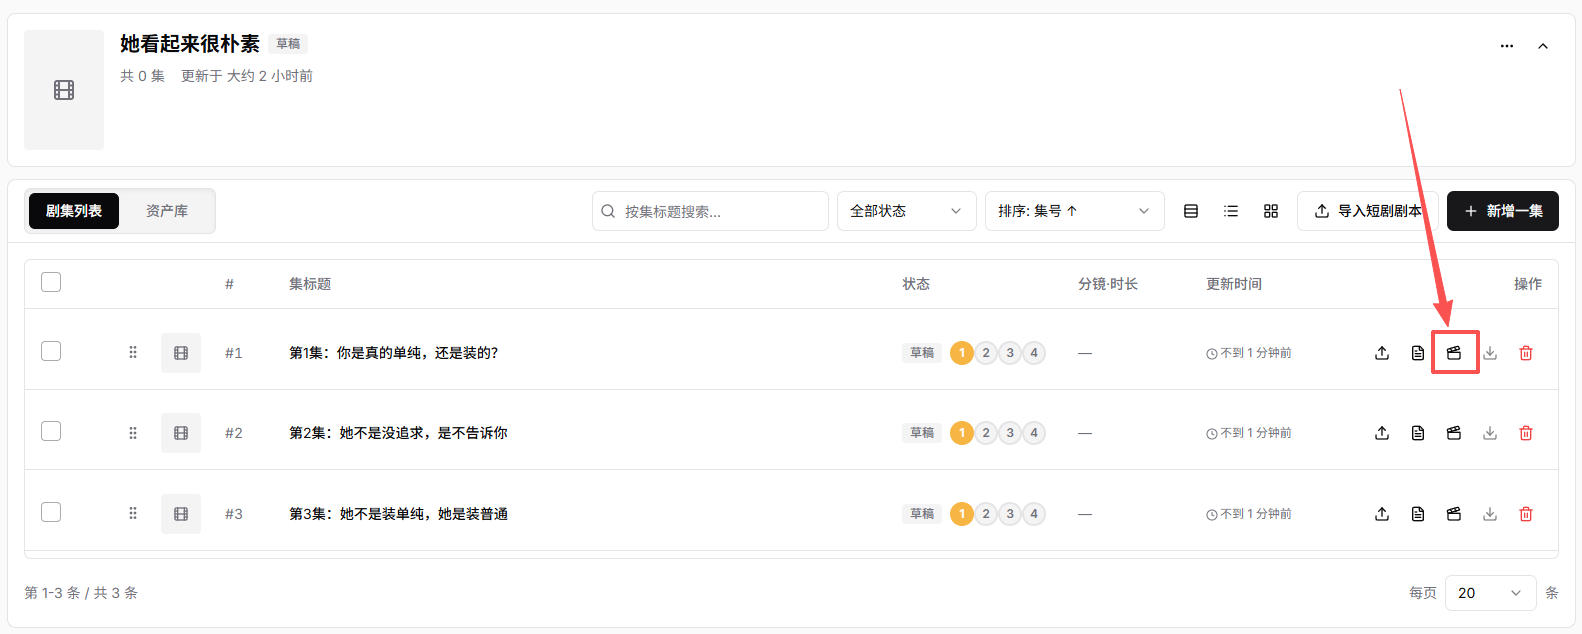
Click [Batch Generate Missing Images] to generate them all at once. Without inspection, this may cause a waste of credits.
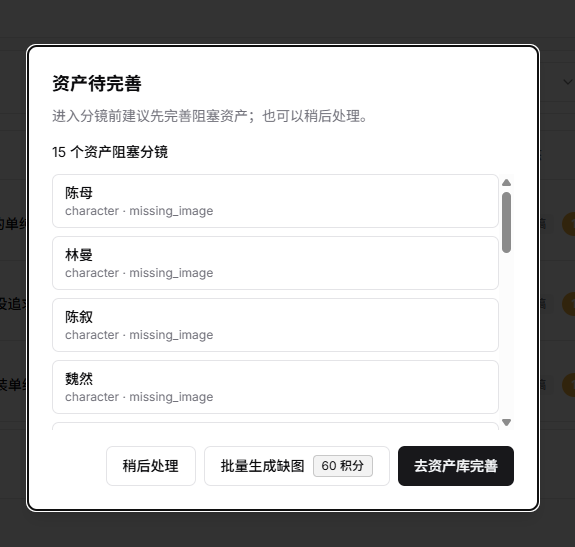
Check before generating assets:
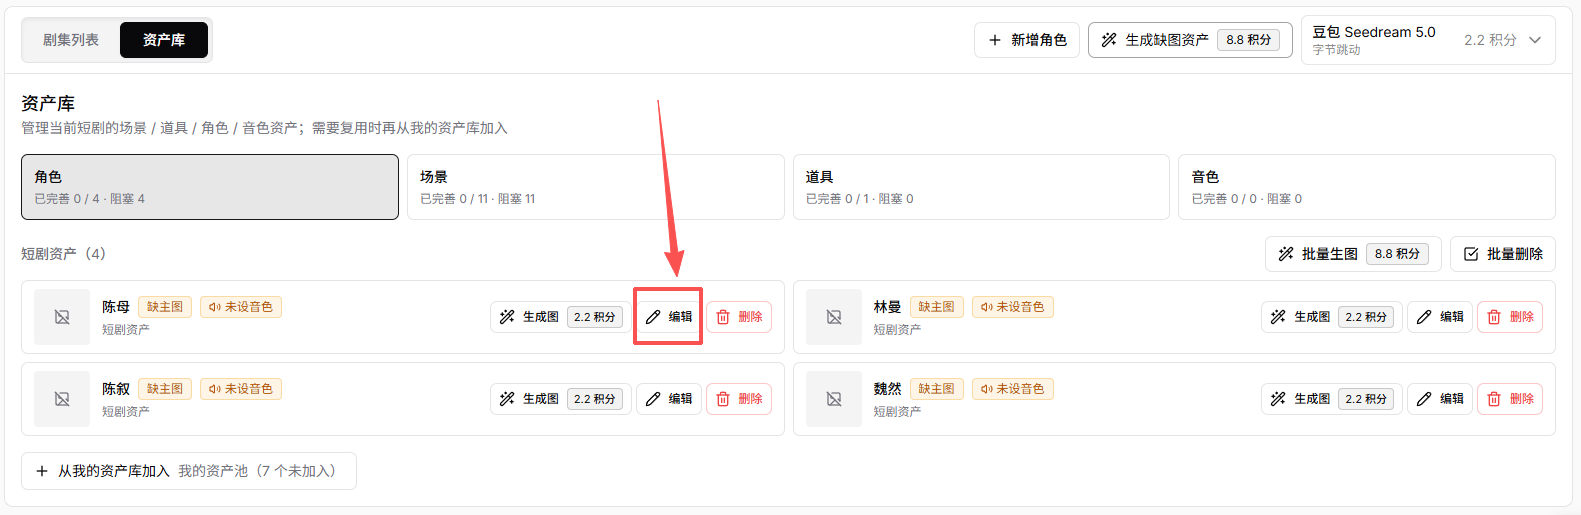
Click [Go to Asset Library to Refine] to enter the asset configuration for the entire drama. Before generating, be sure to check the model selected in the upper right corner.
If you have high requirements for the episode generation results, it is recommended to click [Edit] rather than generating images directly.
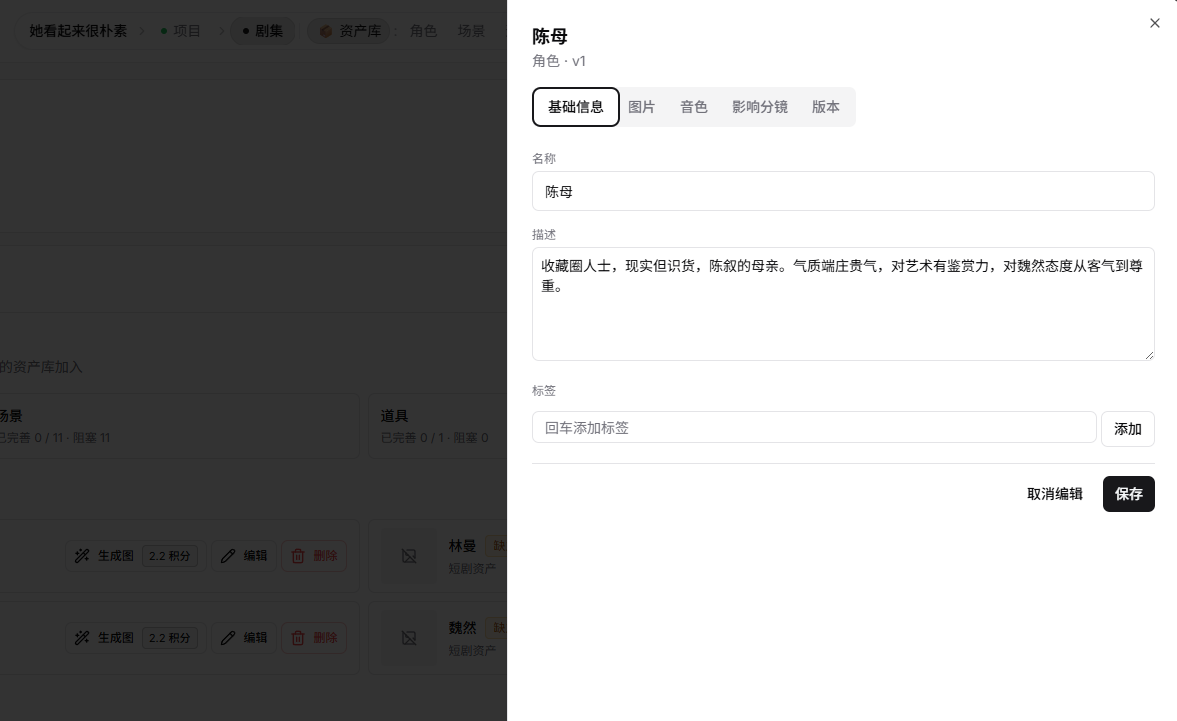
After clicking, an asset pop-up window will appear. Check the "Description" and modify it as needed; once confirmed, click Save.
For asset generation, be sure to generate images. Click [Images] to the right of [Basic Information]. You can directly upload images, or have the system generate asset images based on the prompt words using the selected model.
Characters can have voice timbre binding. To ensure voice consistency of characters in long videos, it is recommended to complete character voice timbre binding.
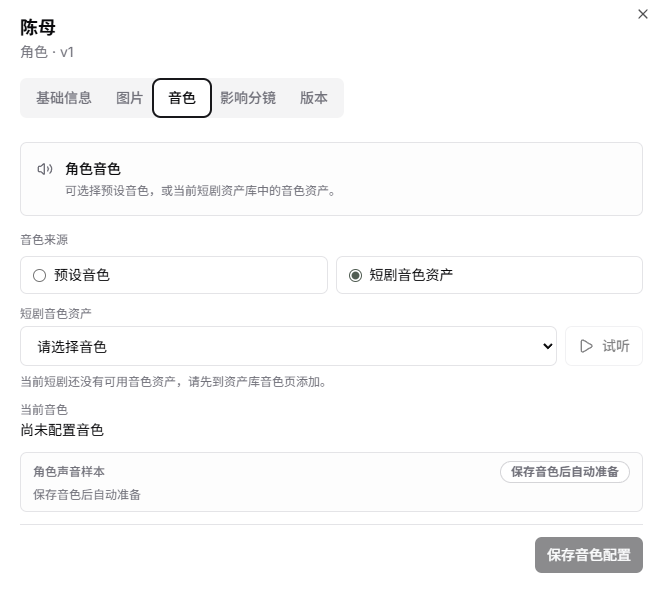
IV. Storyboard Generation and Modification
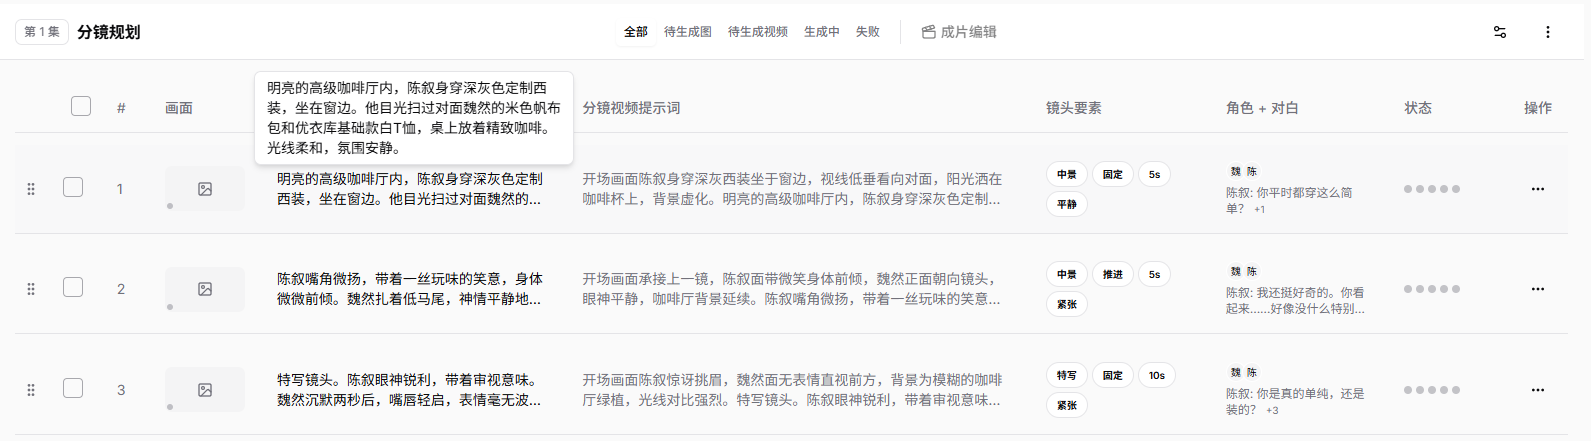
Storyboard Preview
[Hover the mouse] to quickly browse all storyboards.
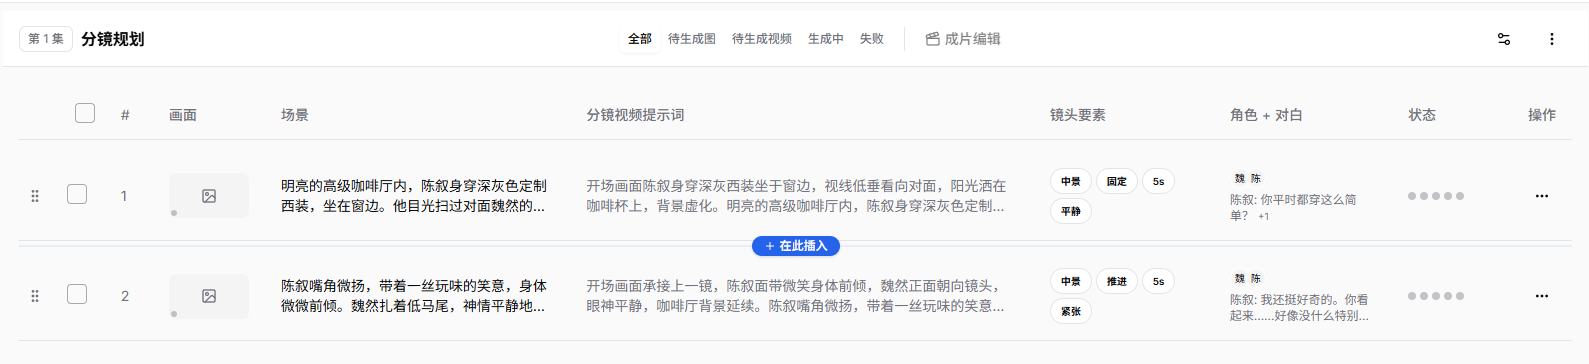
Adding and Deleting Storyboards
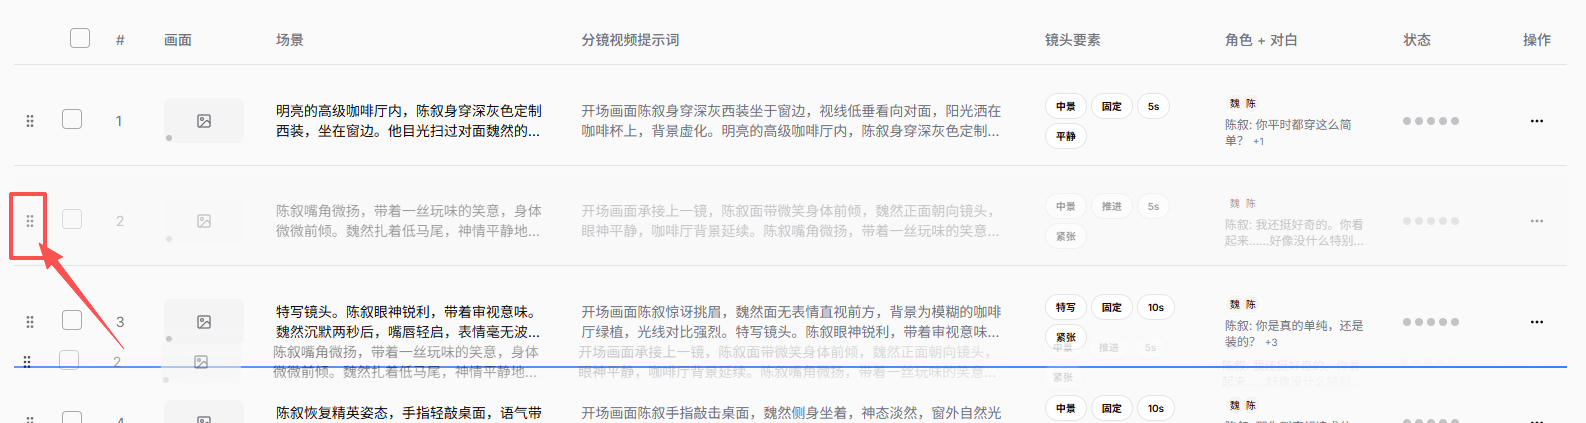
Storyboard Generation
Click the storyboard text or click Edit Details to enter the storyboard generation confirmation page.
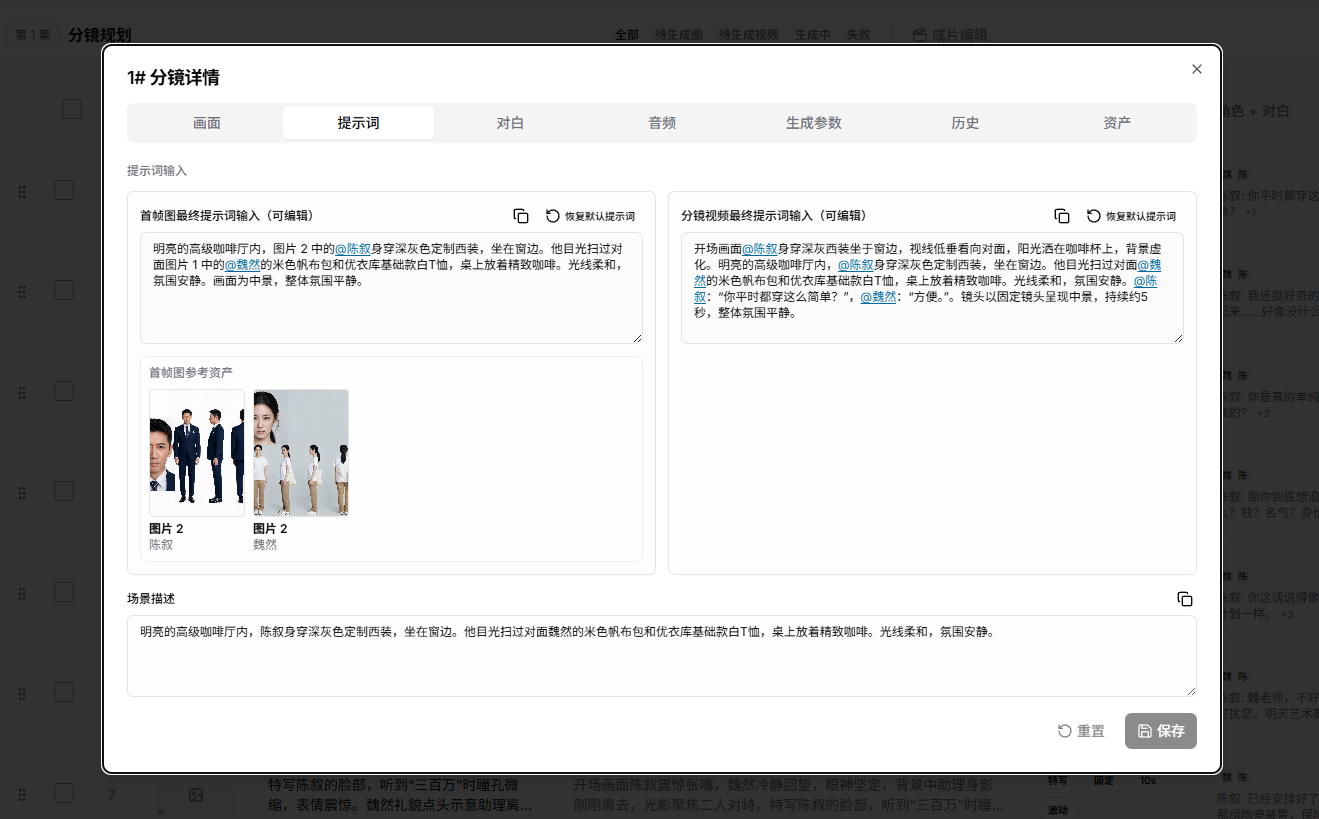
At this point, you can check whether the prompt words meet the requirements. If there are omissions or mismatches, you can edit them yourself.
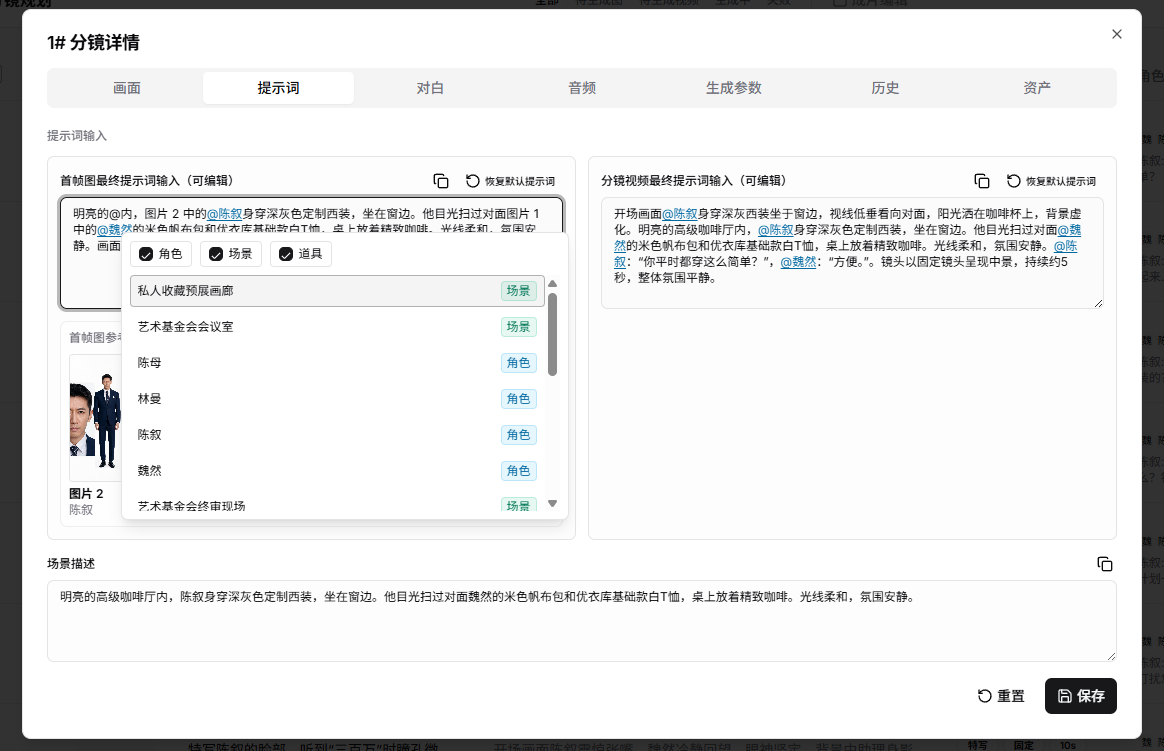

And you can directly return to the storyboard through the [Storyboard] button above.
Before generating storyboard images, check:
First-Frame Storyboard Image
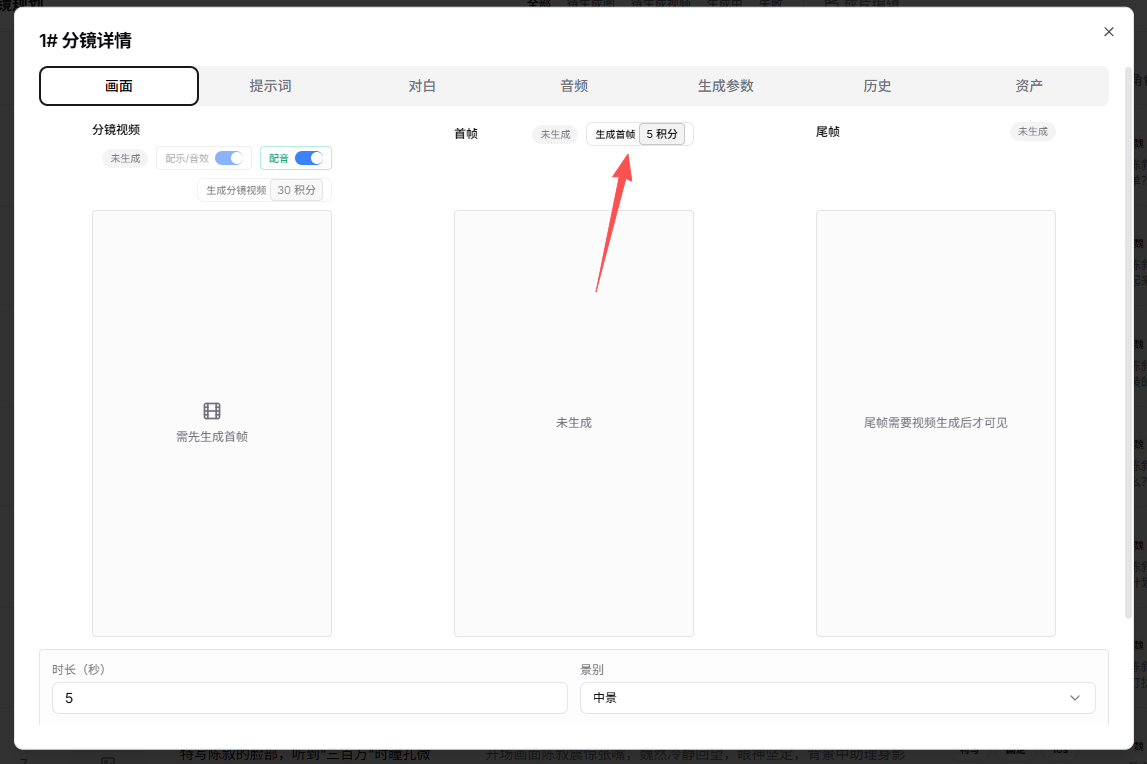
After confirming the prompt words are correct, click the frame to generate the storyboard image first.
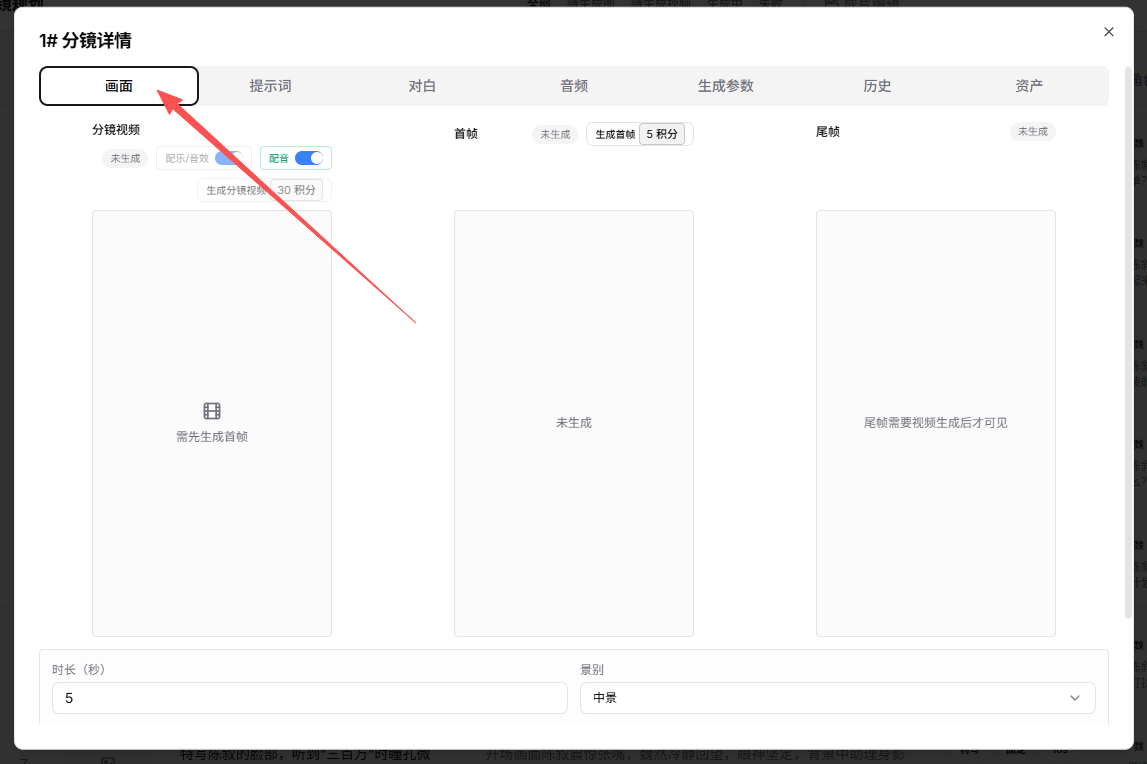
Check whether the model selection matches the settings before generating.
Storyboard Video Generation
Before generating the video, check:
The generation duration can be adjusted according to the video content. The model's judgment of duration is inaccurate, so the duration will not be particularly precise.
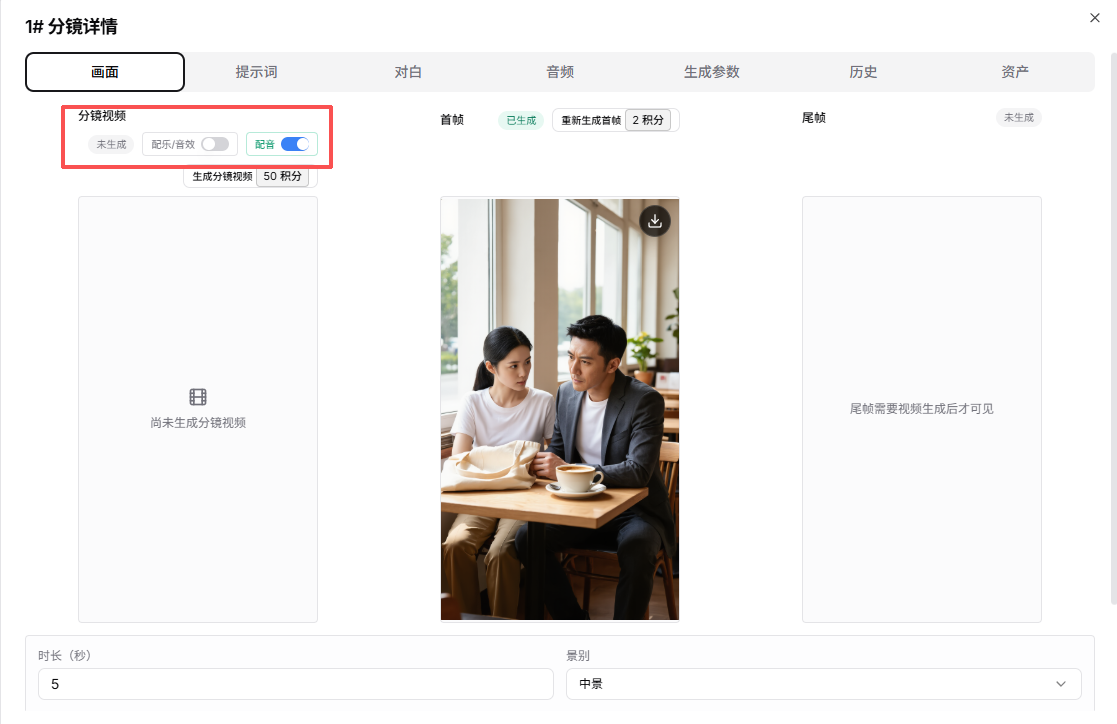
After all settings are checked and correct, click Generate Video.
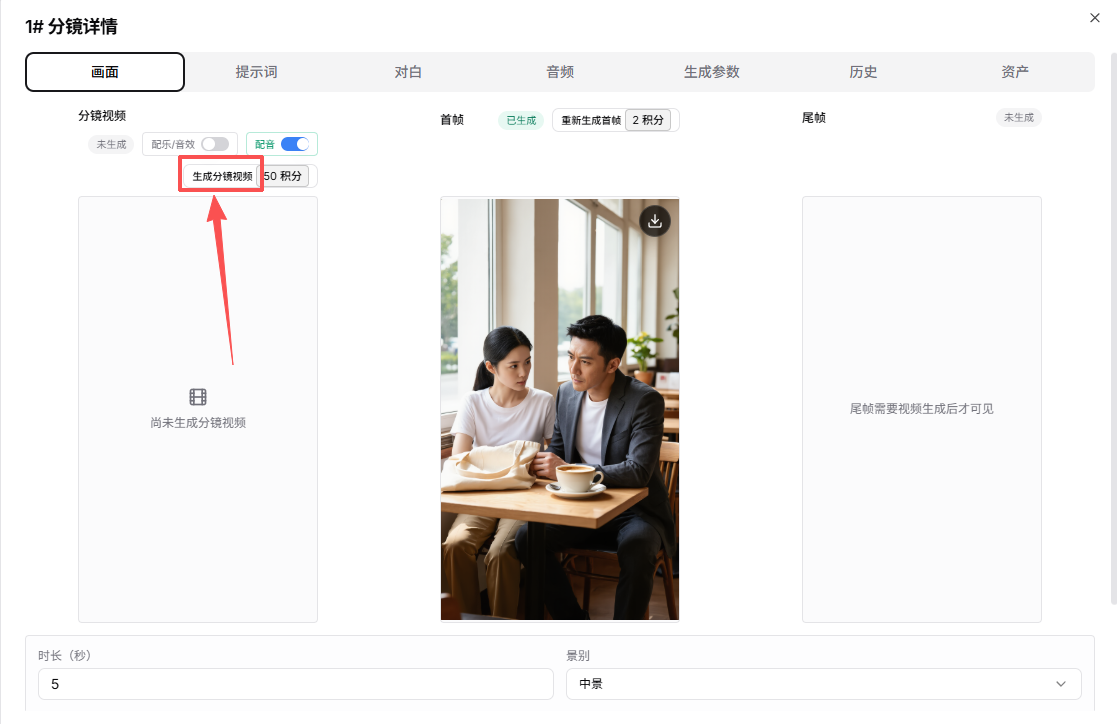
For storyboard 2 and later videos, if Connect to Previous Video is checked, there is no need to generate the first-frame image.
V. Video Compositing
After completing the storyboards, click [Final Cut Editing] to enter editing and compositing for the full episode.
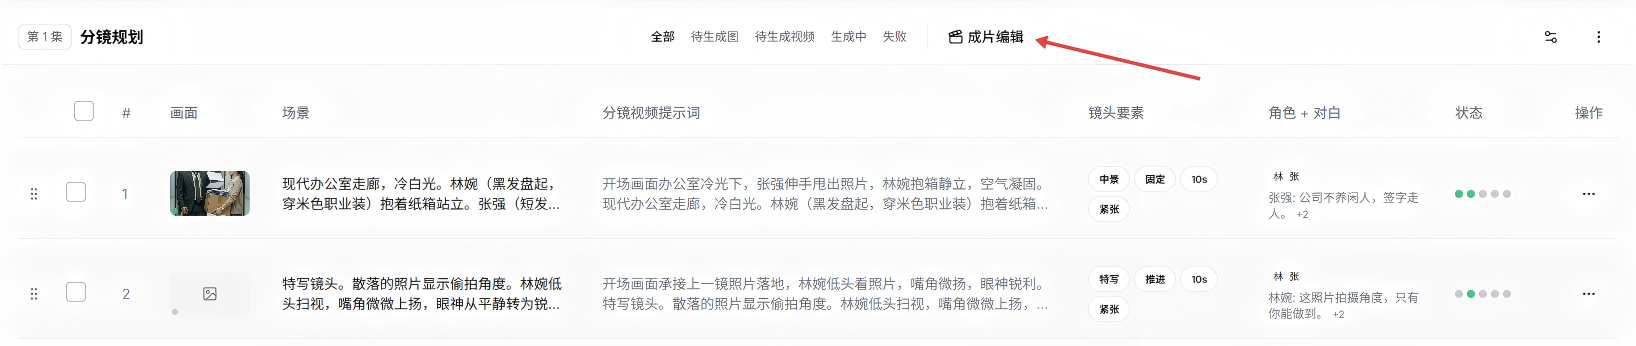
Enter Editing
On the editing page, you can freely edit video and audio.
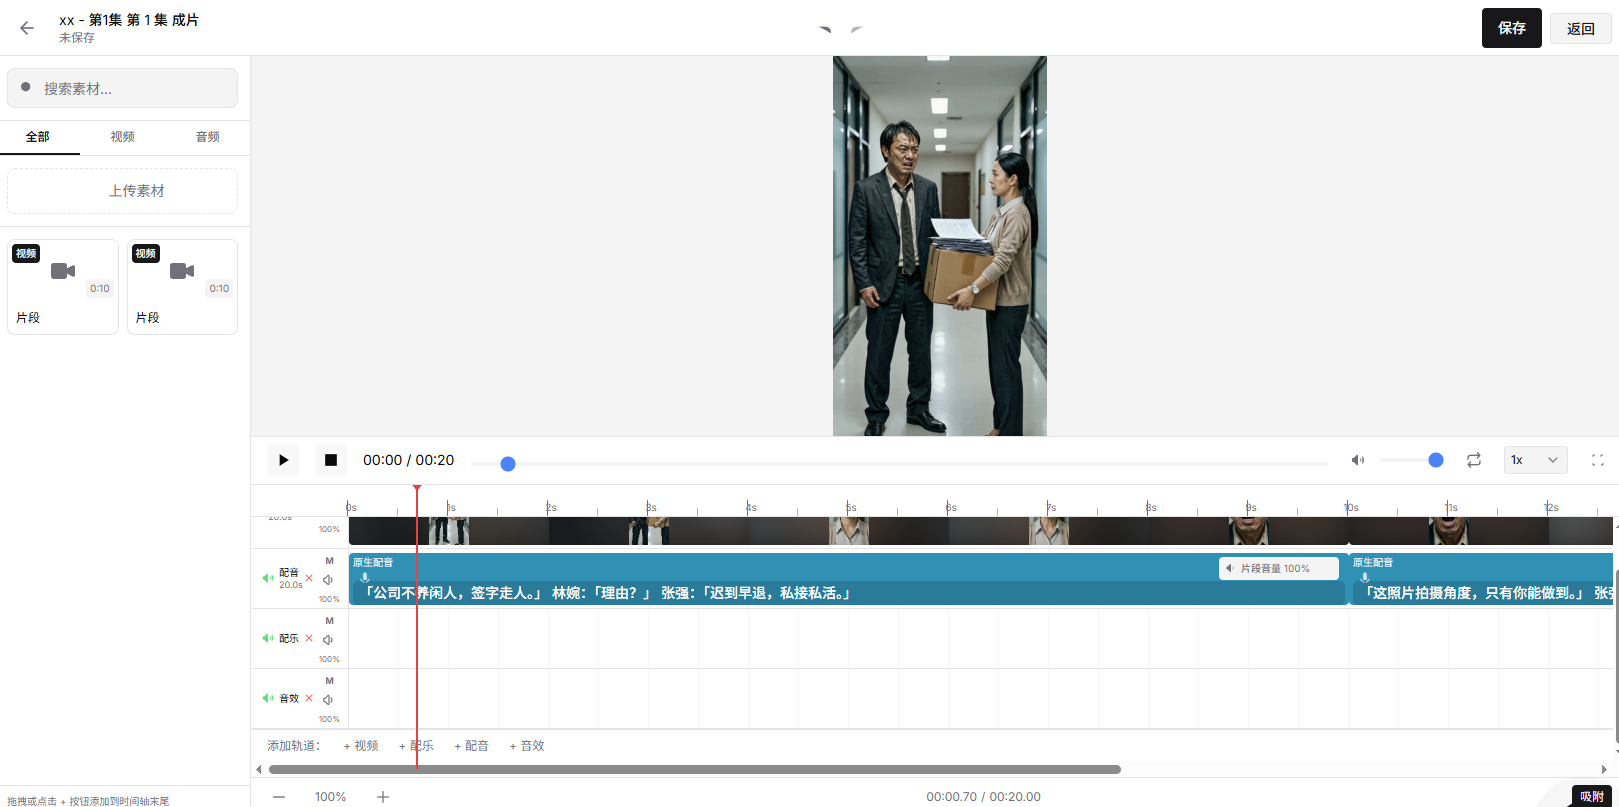
Letter and audio settings can be selected in the lower left corner.
You can also select [Do Not Display Subtitles].
Export Final Video
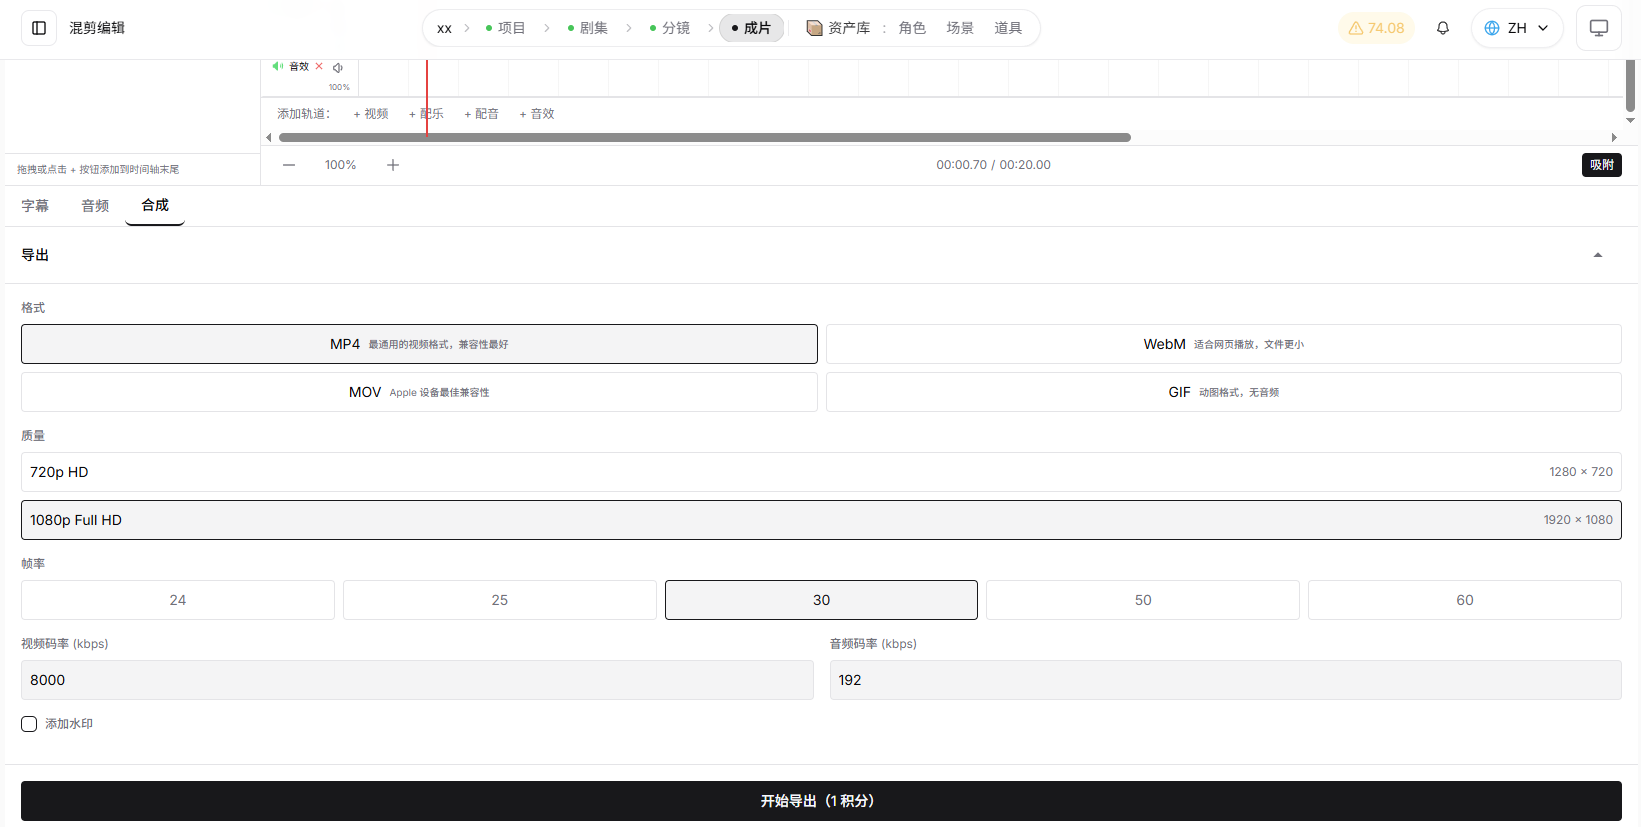
Once finally confirmed correct, you can choose to synthesize and export the file, and select the export format yourself.