
What is the ComfyUI Client
The ComfyUI Client is the official desktop client of ComfyUI, supporting Windows and Mac systems. It features a clean and intuitive user interface, the convenience of one-click installation, automatic updates, a lightweight installation package, a preconfigured Python environment, and support for users to build complex image generation workflows by connecting different nodes, with precise control over the parameters of each step. It provides users with an efficient, stable, and easy-to-use environment for AI image generation and creation.
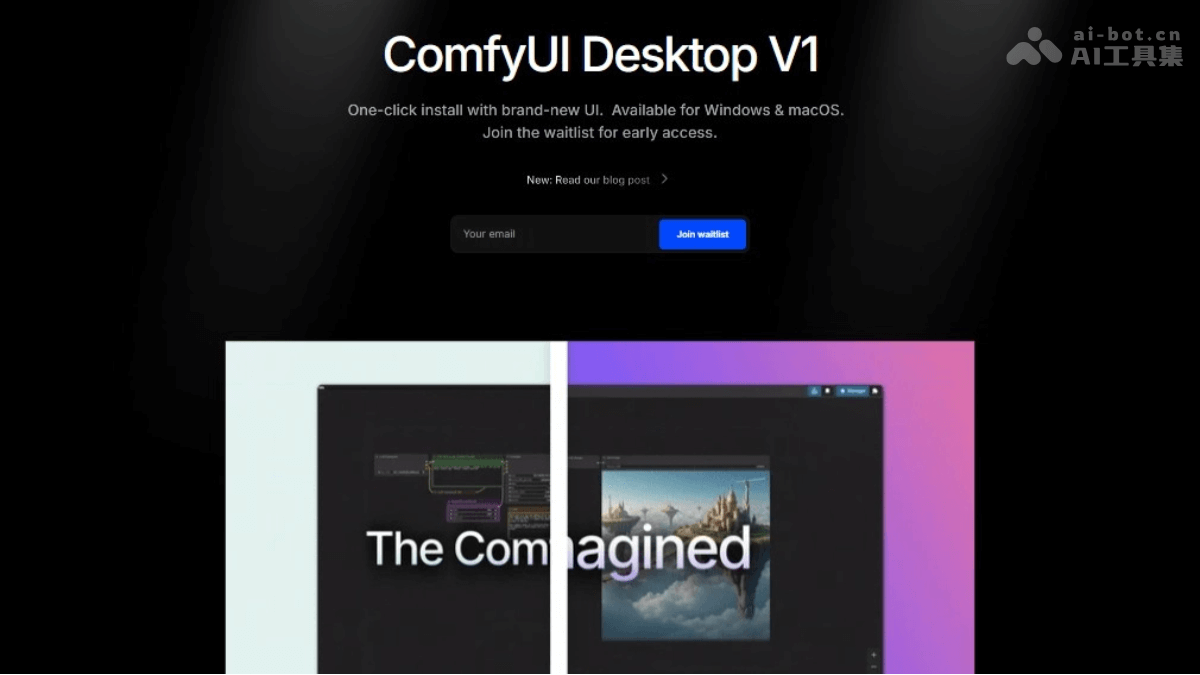
Main features of the ComfyUI Client
- Cross-platform support: The ComfyUI Client supports Windows and Mac systems, and users can quickly deploy ComfyUI through a one-click installation process.
- Brand-new user interface: It provides features such as a top menu bar, quick access functions, a model library, a workflow browser, and automatic model downloads, aiming to optimize the workflow.
- Code signing and security: The application is code-signed, ensuring users can safely run ComfyUI without triggering system warnings.
- Automatic updates: Users can always stay on the latest stable version of ComfyUI through the automatic update feature.
- Recommended Python environment: The preconfigured Python environment eliminates the hassle of manual setup, making the installation process smoother.
- Built-in ComfyUI Manager: Supports users in installing and managing nodes directly from the ComfyUI registry.
- Tab functionality: Users can use tabs to open and manage multiple workflows, improving multitasking efficiency.
- Custom shortcuts: The new version supports custom key bindings and is no longer limited by the browser's default shortcuts.
- Automatic resource import: Supports automatically importing existing ComfyUI resources, including input, model, and output files.
How to use the ComfyUI Client
ComfyUI has sent beta download links to all users who applied for the desktop version, supporting Windows and Mac platforms, so you can check your mailbox. The official documentation provides detailed instructions. The code is not yet open source. Judging from the installation method, it is an Electron application that helps users automatically install Python and provides a convenient launch.
- ComfyUI Windows client download address:https://download.comfy.org/windows/nsis/x64
- ComfyUI MacClient download address:https://download.comfy.org/mac/dmg/arm64
- ComfyUIClient GitHub open source address:https://github.com/Comfy-Org/desktop
ComfyUI Client installation method:
- Download the installation package: Download the Windows or Mac installation package through the provided link.
- Installation process:
- Double-click the installation package to begin installation, and first select the installation path.Note that the installation path should not contain Chinese characters. It is best to use an all-English path, and the available disk space should be no less than 15G.
- If ComfyUI has been installed before, you can choose file migration and copy the path of the old ComfyUI folder so as to share existing models, user settings, and workflows. If it has not been installed before or you are worried about incorrect settings, you can skip this step.
- Complete the installation: Click Install to complete the installation. The system will download the relevant files, and this process may take some time. After the installation is complete, the interface will display the familiar ComfyUI operation interface, and a new ComfyUI icon will also be added to the desktop. Double-click the icon to launch it.
- Import Models:
- If you did not choose to import existing ComfyUI models during installation, then after the interface opens, you need to copy commonly used models such as checkpoints, lora, upscale, controlnet, etc. into a series of folders under the new ComfyUI/models path.
- The desktop version supports inserting model links. If this setting exists in the workflow, the system will prompt you to download and install the model.
- Using the ComfyUI Manager Plugin: Due to environment dependency reasons, the desktop version does not support one-click import of custom nodes, but it has the built-in ComfyUI Manager plugin, where you can directly search for the plugins you need and reinstall them.
- Viewing Backend Logs and Running Status: A new "Bottom Panel" small icon has been added to the top right corner of ComfyUI. Clicking it allows you to view model download progress, image generation progress, system error prompts, etc.
- Update and Uninstall:
- When the desktop version of ComfyUI is updated, a window will automatically pop up after the interface opens to prompt the update. You can also turn automatic updates on/off in "Settings".
- When uninstalling ComfyUI, in addition to deleting the ComfyUI folder, you also need to delete related files in the Windows or Mac system paths.
Application Scenarios of the ComfyUI Client
- Image Generation and Creation: The ComfyUI client can generate high-quality images, suitable for artists and designers doing creative work, such as visualizing concepts, exploring new creative directions, or enhancing content with eye-catching visual effects.
- Interior Design: In the field of interior design, the ComfyUI client can help designers quickly generate interior design proposals, display design proposals through AI-generated images, and improve communication efficiency and customer satisfaction.
- Image Editing and Restoration: The ComfyUI client supports image editing, including local changes and style transfer, allowing users to modify and innovate existing images.
- Virtual Reality and Augmented Reality: In the fields of virtual reality (VR) and augmented reality (AR), the ComfyUI client can generate realistic virtual scenes and objects, providing users with a more immersive experience.
- Medical Imaging Processing: The ComfyUI client can be applied to medical imaging processing. By generating high-quality medical images, it helps doctors diagnose diseases more accurately and formulate treatment plans.